
How to Pan for Gold, Step by Step
CoilAndCoin is reader-supported. If you buy through our links we may earn a commission at no extra cost to you. As an Amazon Associate we earn from qualifying purchases. Disclosure.
Washington's DNR flyer says it plainly: recovering gold by panning takes practice. It works for one simple reason: gold is heavy. USGS puts natural gold at a density of 16 to 18, against about 2.5 for the sand and gravel around it. Shake a pan of wet gravel and the gold sinks to the bottom while everything else floats up to where you can wash it away.
What you need
- A pan. The Chugach guide calls a 14 inch pan with riffles the best size. Plastic with riffles or metal both work, per the guide.
- A classifier (a "grizzly") to screen out rocks before panning. The same guide lists one with 1/2 inch holes.
- A small magnet, tweezers and vials for the end of the job.
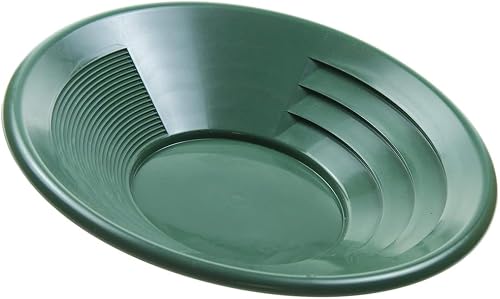
SE 14 in. Dual-Riffle Gold Pan
- 14 in. green plastic pan, per the listing
- Deep 1/4 in. riffles plus micro riffles
- Listed as rust-proof and safe to use with a magnet
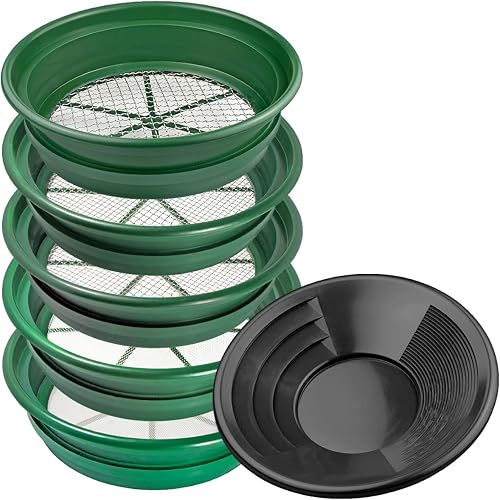
6-Piece Classifier Set with 12 in. Pan
- Five classifiers: 1/2, 1/4, 1/8, 1/12 and 1/20 in. mesh, per the listing
- 12 in. dual-riffle pan
- Classifiers sit on a 5-gallon bucket (bucket not included)
Starting from scratch? A gold panning kit bundles all of this.
Step by step
- Classify. Shovel gravel into your classifier set over the pan and shake it through. The Chugach guide says to check the big rocks for nuggets before tossing them.
- Fill and submerge. Put the pan completely underwater and make sure everything gets wet. Washington DNR says you may need to mix it with your hands. Break up any clay; the Chugach guide says clay can trap gold, and it's gone when the water starts to clear.
- Shake. Hold the pan level underwater and shake it side to side or in a small circle. Alaska's state geologists describe the motion as "vigorous, but not violent," about 1-1/2 to 2 inches each way, with every particle moving. New Mexico adds a trick: tap the side of the pan with your palm now and then to help the gold settle.
- Tip and skim. Keep shaking while you tip the pan away from you. Light material and pebbles come to the top and front; skim them over the lip with your thumb (Washington DNR).
- Repeat. Shake, tip, wash. Keep going until only a small amount of heavy material is left. Add water as needed.
- Stop at the black sand. New Mexico's guide is emphatic: "Do not wash out the black sand!" If you're seeing dark heavy grains, the Chugach guide says you're doing it right.
- String it out. Leave just enough water to cover the concentrate and swirl gently. Washington DNR says lighter particles wash farther, and gold, being heaviest, stays in the "tail."
Finishing up
New Mexico suggests less experienced panners save their black sand to finish at home, and notes that many panners work over a second "safety" pan. Dry the concentrate first, then pull the magnetic grains out with a magnet; the state survey says putting the magnet in a plastic bag saves you from scraping it clean. Pick gold out with tweezers, a knife blade or a dry finger, and store it in a water-filled vial (Chugach guide).
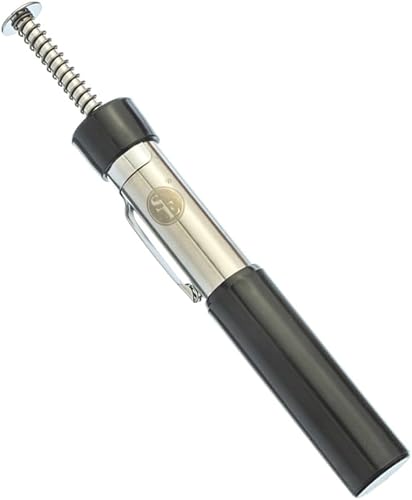
SE Pocket Magnetic Separator Pen (5 lb)
- Pocket magnet, 5 lb pull, per the listing
- Stainless steel; listed as rust- and water-resistant
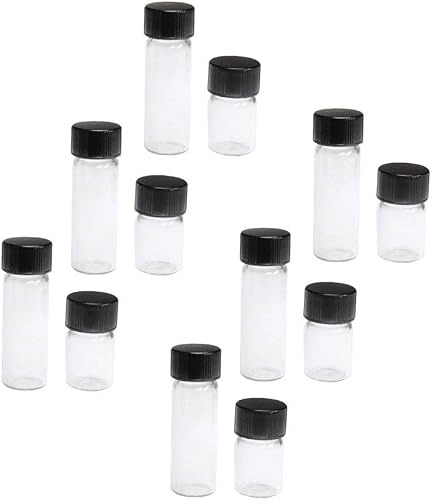
ASR Outdoor Glass Gold Vials (12)
- 12 glass vials: six 3/4 dram and six 1 dram, per the listing
- Screw caps with water-tight seal
More gear for this stage in gold prospecting tools.
Is it gold?
The Chugach guide warns beginners about two look-alikes. Pyrite ("fool's gold") is brassy, light yellow and brittle. Mica is light yellow to bronze, light, and flaky. Real gold is heavy and stays put while the pan moves. Very fine "flour" gold can be so thin it floats on water, the guide says.
Practice before you head out
New Mexico's tip: drop a few lead pellets into a pan of dirt and pan it down. If the pellets are still there at the end, your technique is sound. Another option is store-bought paydirt; this 2 pound bag is sold for panning at home, and the seller says every bag contains gold.
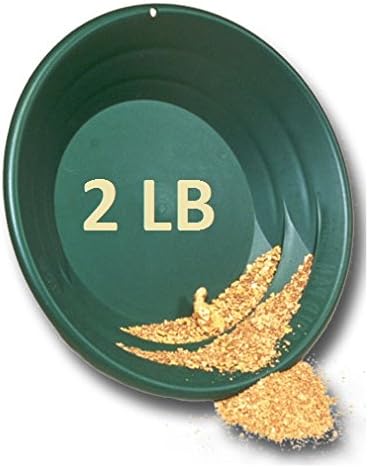
Colorado Gold Ore Paydirt, 2 lb
- 2 lb of unsearched paydirt for practice panning at home, per the listing
- Seller says every bag contains gold
Pace yourself
Both the Chugach guide and Alaska's state geologists put an experienced panner at roughly 10 pans an hour. Expect fewer at first. If you want to move more gravel, compare a pan vs a sluice box.
This isn't legal advice. Before you pan, check that the land is open and not under someone's mining claim. See where to find gold and the rules on public land.
FAQ
How full should the pan be?
Half to three-quarters is a good start; sources range from half to nearly full.
Which way do the riffles face?
Away from you.
How can I practice?
Pan a few lead pellets, per New Mexico's Bureau of Geology.